

How to take scalp photos your doctor can actually use
Good photos make your scan, your consultation and your progress checks more useful. Here is how to photograph your hairline, crown and parting clearly, with just a phone.
Your consultation5 min read
Doctor check: not yet — Dr. Anil Tyagi will check it before it goes live
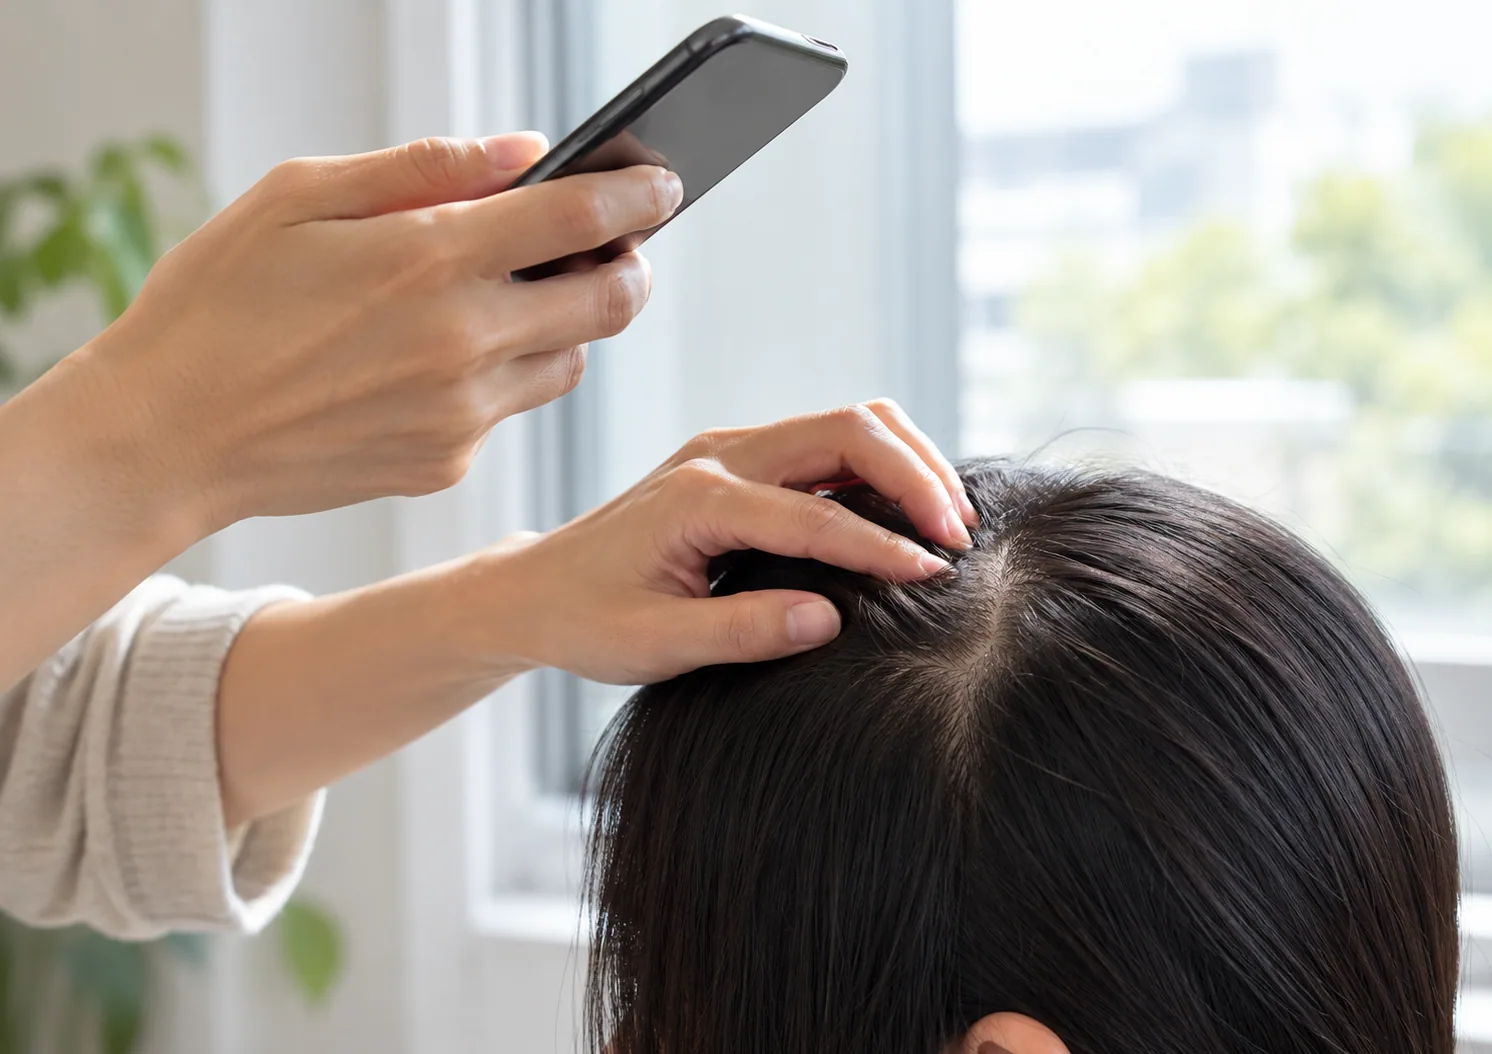
Illustrative image — not a treatment result.
Skin doctors need a close, well-lit view of the scalp. In clinic they often use a close-up scalp check (trichoscopy), which they can repeat to see how you respond to treatment. At home, careful phone photos are the next best thing. They become the starting point for your scan and for comparing progress later. A few minutes of care makes them much more useful.
Before you start
- Wash and fully dry your hair. Skip oils, gels, sprays and hair fibres
- Leave it loose — no fresh blow-dry, straightening or tight hairstyles
- Turn off filters, beauty mode and portrait blur on your camera
- Clean the camera lens
- If you can, ask someone to help with the crown photo
Get the light right
Light changes how much scalp shows through your hair more than anything else. Bright light right above you can make hair look thinner than it is. Dim light can hide real change.
- Use soft daylight — face a window, but stay out of direct sun
- Avoid a single bright ceiling light right above your head
- Do not use the flash. It hides detail and causes glare on the scalp
- Use the same spot, at about the same time of day, every time
Photo 1: front hairline
Pull your hair back from your forehead, or hold it with a soft band. Look straight at the camera, held at eye level about an arm’s length away. Take 1 photo straight on, and 1 of each temple with your head turned a little to the side.
Photo 2: crown
The crown is the hardest area to photograph yourself. Best is to sit down and ask someone to hold the phone above and a little behind your head, pointing down at the top of your scalp. On your own, use the timer or a mirror behind you. Take a few shots so at least one is sharp.
Photo 3: parting
Comb your hair into a straight centre parting. Tilt your head forward a little and photograph the parting from above, so it runs from the top of the photo to the bottom. A wider parting is a common sign of female pattern hair loss, so this photo matters for everyone. If you usually wear a side parting, take one of that too.
Taking photos each month
Scalp hair grows only about 1 cm a month. So the most useful comparison is between photos taken months apart, in the same conditions. Repeat the same 3 angles, the same light, the same distance and the same hairstyle. Doing it the same way matters more than a perfect shot.
Where your photos go
We store the scalp photos you upload privately. Only your doctor sees them, for your care. We never use them in marketing unless you agree clearly and separately, in writing. You can take that agreement back at any time.
When to see a doctor
Notice something unusual while taking photos? Patches with no hair, broken hairs, redness, flakes, shiny skin along the hairline, sores or a sore scalp — mention it at your consultation. If it is painful or spreading, see a doctor soon.
The next step
The guided 3D scan uses these same tips and walks you through each angle. Dr. Tyagi checks your scan before your call. Individual results of any treatment vary. Good photos simply make it easier to see what is really happening.
Sources
- 1.Trichoscopy — Sadek et al. (opens in a new tab)
DermNet · 2022
- 2.Terminal hair: function and examples (opens in a new tab)
Cleveland Clinic
- 3.
Figures are general information from published sources and vary between studies. They are not claims about any YHC product.
Information on this site is for general education and is not a substitute for medical advice. Treatment is prescribed only after a consultation. Individual results vary.